Snowboard- & ski maintenance: practical tips for waxing and edging!
Good winter sports equipment can cost a lot of money. That is why it's wise to keep your equipment well maintained, by waxing and sharpening your gear. You can have this done by a professional, but you can also do it by yourself! SnowWorld is here to give you some practical tips for ski and snowboard maintenance.
Waxing & sharpening
Whoever thinks of winter gear maintenance thinks of waxing and sharpening. Not surprisingly, because this is the most important maintenance you can do to maintain good winter sports equipment. Good grinding and waxing not only ensures optimal performance, it also extends the life of your equipment! Think of it as a MOT for your car, which is also important.
Waxing
Waxing the belay is something you can keep doing. With frequent use or several weeks of winter sports, once a week is not that bad. A wax treatment ensures that a layer of wax is deposited on and in the pores of the belay (the underside / sliding surface) of your skis or snowboard. This prevents your belay from being damaged by friction, which occurs when sliding down the slopes.
There are different types of wax, for every type of application, weather and athlete.
You have 4 types of application: spray wax, lubricating wax, hot wax and finishing wax. Spray and lube wax are often used for quick applications. Hot wax is one of the most common ways of waxing and we'll use it in the steps below. Finishing wax is used in ski racing, to glide just a little faster.
The most accessible hotwax is the universal wax, which can be used in all conditions. Do you keep a close eye on weather forecasts? Then you can use temperature-dependent wax for optimal performance.
Common wax types
In winter sports shops, you can often find waxes in various colours. We have listed the four most common waxes:
- Betamix red - this is a basic wax, ideal for a first coat. Nowadays, this basic wax is also available as a liquid version: you apply this wax using a 'wax fleece', making a waxing iron superfluous!
- Alphamix Yellow - wax for warmer temperatures, but also ideal for 'clean waxing' your equipment.
- Ultramix Blue - wax for colder temperatures, better protection against icy slopes.
- Indoor hot wax - the hardest wax, which is ideal for indoor use on artificial snow.
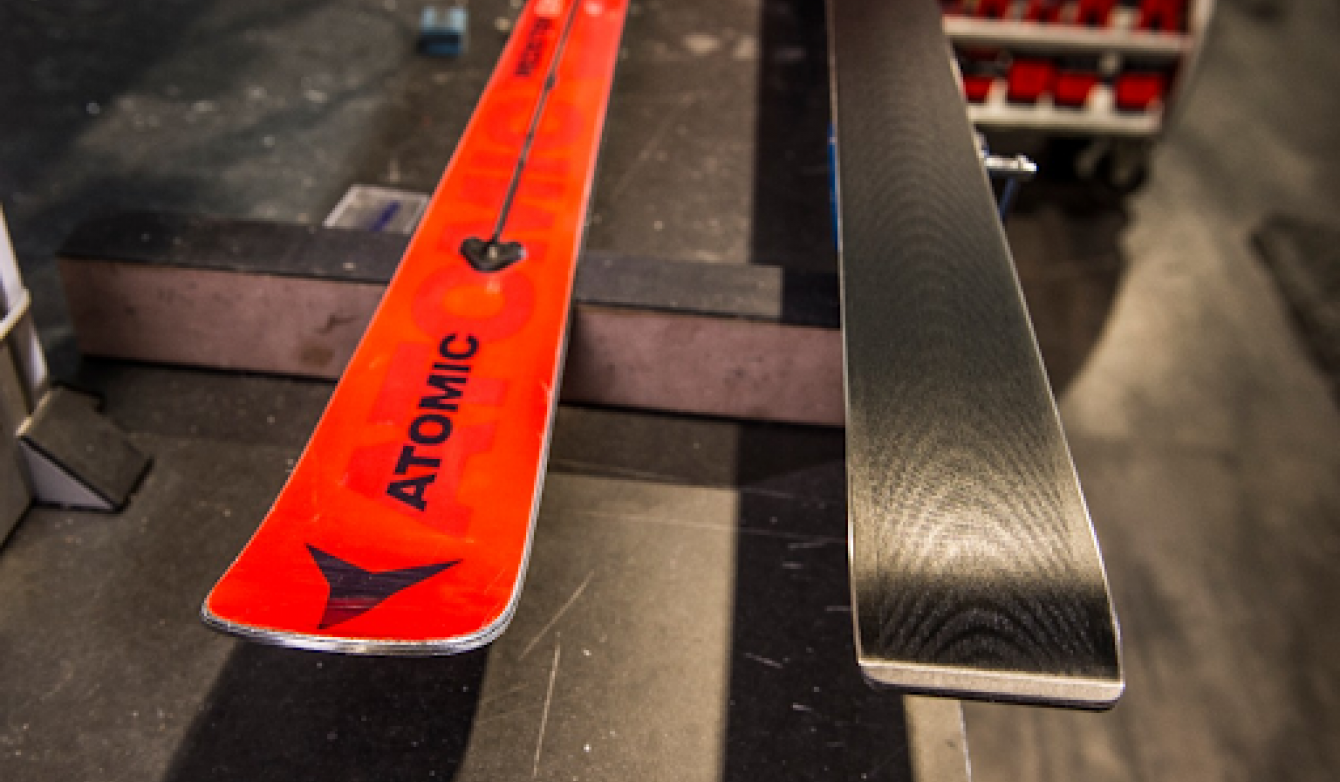
Grinding
Sharpening makes your steel edges razor-sharp. Sharp steel edges improves your cornering and help you 'cut' through icy sections easily. Be aware, that when grinding, a layer is ground off your steel edges. So your steel edge will run out once! Therefore, really limit sharpening to a few times a season, depending on use.
When should you wax and sharpen?
You can definitely tell from your skis or snowboards, whether a maintenance service is needed. Usually your belay feels a bit dry and white edges appear. A white haze on your base does not immediately indicate a dry base, it can also be old wax.
On your steel edges it is more difficult to see, you can better feel it. Hard snow quickly blunts the edges. Steel edges should be sharp, but also free of burrs, rust and unevenness. If this is not the case, then maintenance of your steel edges is desirable.
Be careful: if the bumps are serious, you will have to act quickly. Severe unevenness or rust can be the cause of breaking your steel edges. In this case, repair is very difficult and costly!
Do you want to maintain your skis yourself? Duijvestein explains how to maintain your skis or snowboard yourself. Ideal for getting started!
Have you got any large rubber bands? Wrap them around the base to keep your work area clear.
When you maintain your skis, check that the bindings are still adjusted as you want them to be. This will prevent any nasty surprises when you enjoy your winter sports.
Despite the disciplines being different, snowboard maintenance is very similar to ski's. However, the surface area is obviously larger, so more wax will be used.
Are you going to wax a snowboard properly? It can be easy to take your binding off for a while, but it doesn't have to be. In fact, it can also, provided these are not Flow bindings, function perfectly well as a 'table leg'.
Are you looking for a snowboard wax set or just some snowboard tools? Then check out Burton's products, which specialise in snowboarding! Of course, the products can also be used for ski's, and vice versa.
Doing maintenance by yourselve? Follow these steps!
You can maintain your equipment just fine by yourself. Follow these steps and you will see that your ski's or snowboard will be back in top condition in no time!
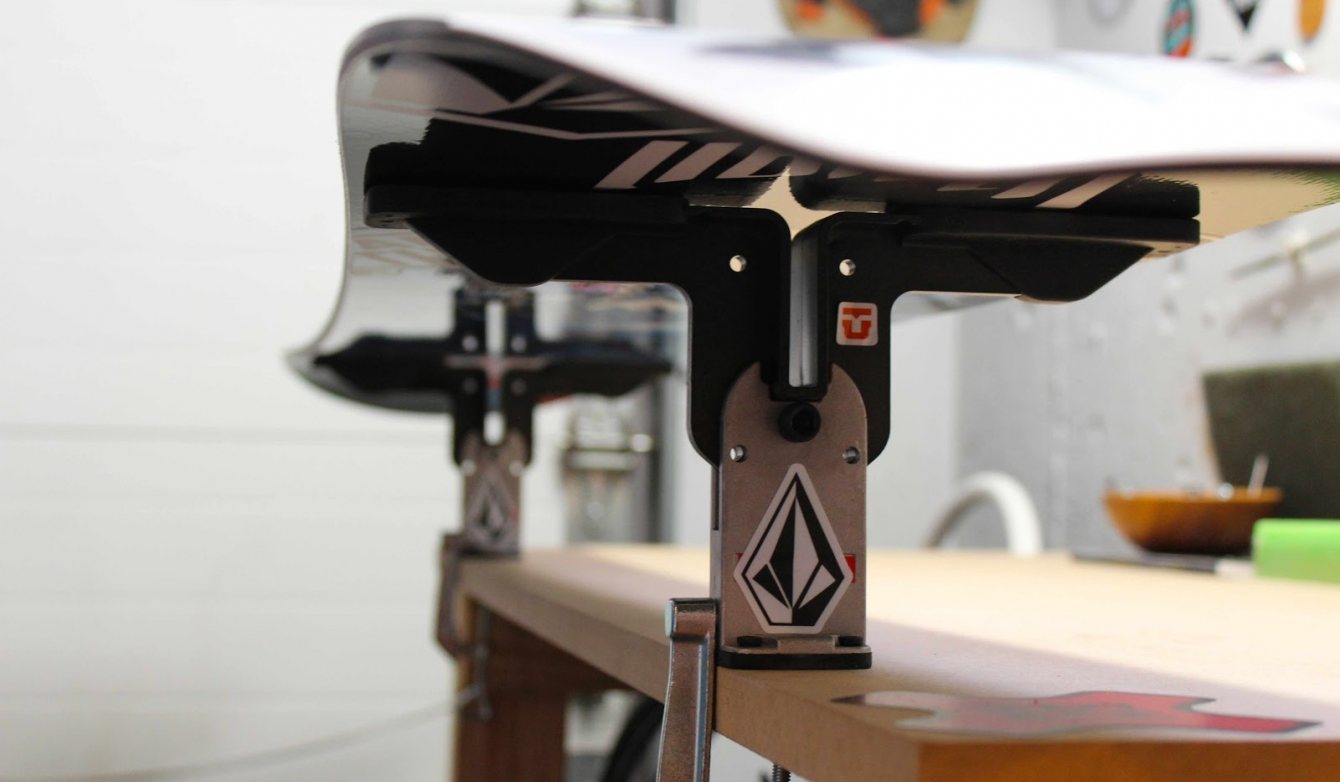
STEP 1: Preparation is half the battle
To get off to a good start, make sure you have everything you need and that your work area is tidy. It works well if you can put your equipment on wax clamps. It is also wise not to leave your skis or snowboard in the freezing cold before waxing, but make sure your equipment is up to temperature.
Everything you'll need for maintaining your gear:
- Wax clamps (to put your gear on)
- Wax remover
- Waxing iron
- Hotwax (by choice)
- Scraper
- Bronze / copper brush for the belay
- Edge sharpener
- Base edger
- File (coarse)
- Diamant file (medium)
- Sharpening gummi
- Fix-strips / P-TEX
- Multitool (always good to have!)
STEP 2: Make sure the base is dry and clean
Remove any old wax residue by using a wax remover. This spray extracts old wax from the pores of the belay so you can fill it with new wax later. After removing the wax remnants with the wax remover, you will have to wait a while before waxing your belay again.
Clean wax
Would you rather not use wax remover or do you have hardly any old wax residue? Then you can also choose to 'clean wax' your material. This is where you use a fresh new layer of hot wax to pull the dirt out of your belay.
Dirt floats in the wax, after which you can scrape it right off the edges. After 15 minutes, you can also remove the rest of the wax with a scraper. After waxing, briefly brush the pores open with a copper brush, so that the new wax layer can soak in properly.
STEP 3: For major maintenance: FILLING!
Do you have (heavy) damage in the belay, such as pits, scratches and holes? Then you will need to fill these with P-TEX or fix strips first. Don't forget to remove the excess with your scraper and a file, so that your belay is nice and smooth again.
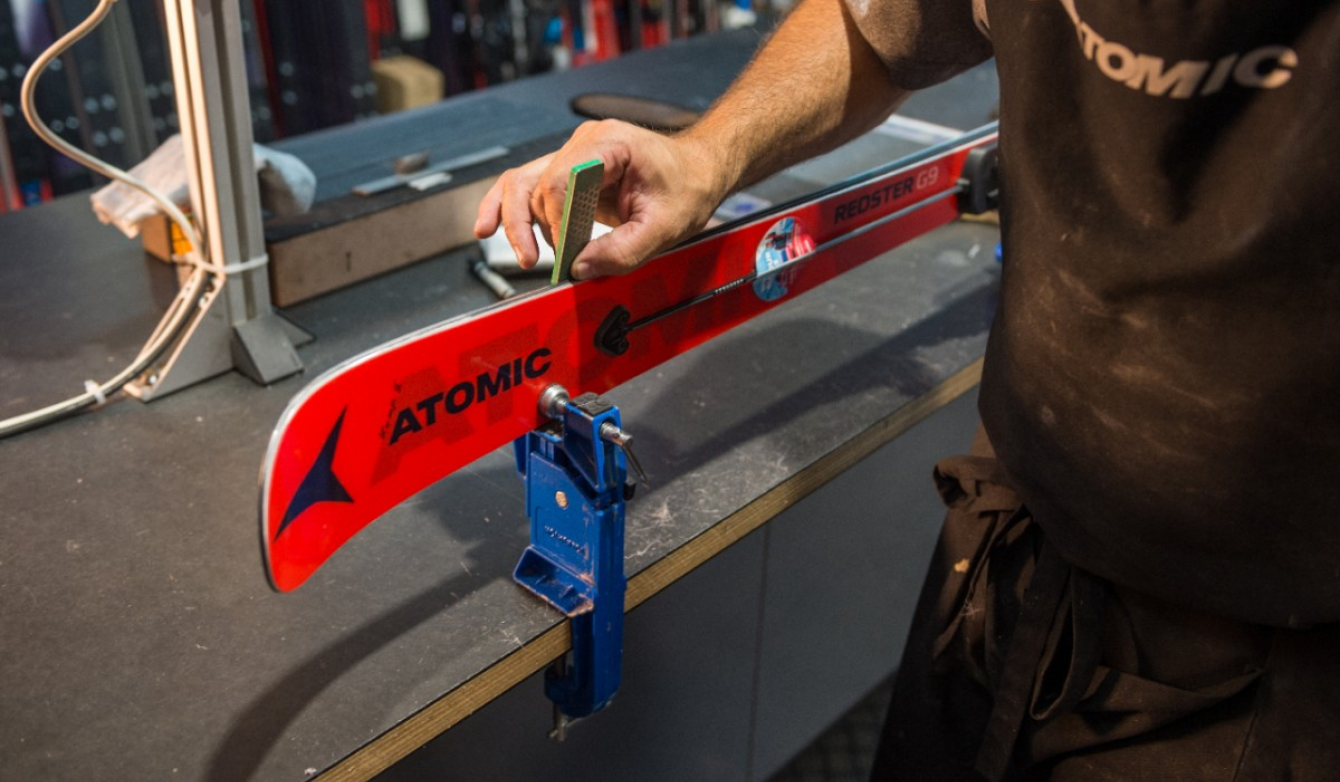
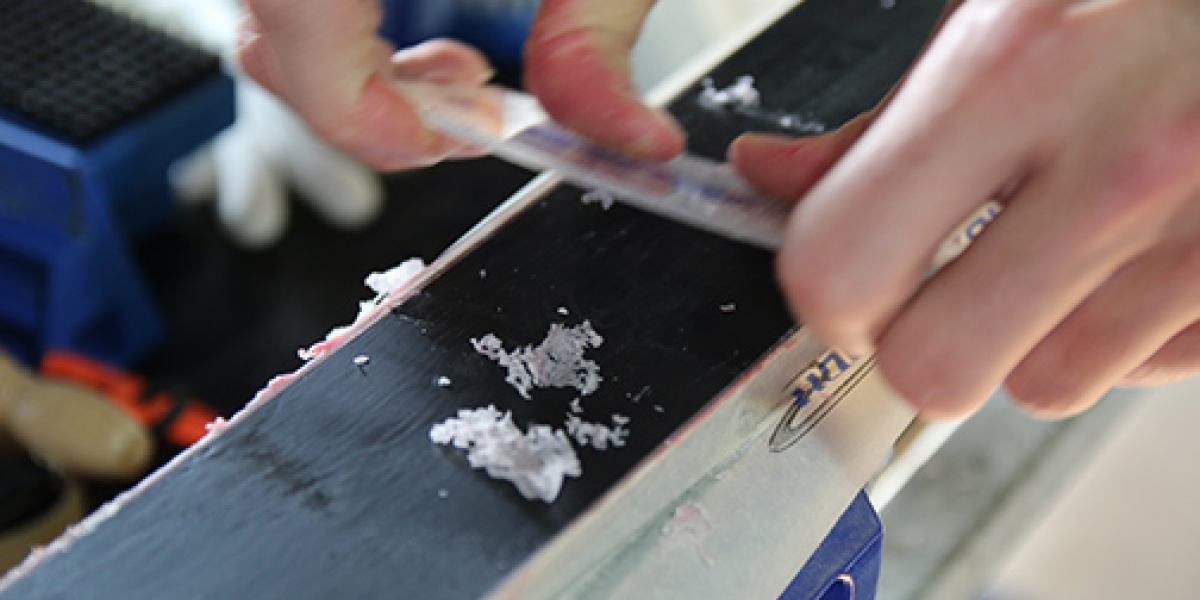
Step 4: Touch up your steel edges
Before waxing, it is wise to first touch up your steel edges if needed. This is precise work. First, adjust the edger to the desired angle using a multi-tool, before filing along your steel edges.
An angle around 89 degrees is common. The smaller the angle is set, the sharper the steel edge becomes and your material will react more directly. By comparison, competitive skiers set their steel edges between 88 and 83 degrees.
Take the edger in a smooth line, without too much pressure, along your steel edges and finish with the diamond file for best results. After sharpening, it is always a good idea to use a sharpening eraser to 'de-grind' / 'blunt' the front tip and back tip. This prevents your skis or snowboard from biting or jerking in the snow.
Not quite sure? Then it may be wise to have it sharpened by a specialist. This will prevent uneven wear of your steel edges.
Step 5: Spread the wax
After grinding, the wax can be applied. It works best if you lightly press the wax against the hot wax iron to melt it. This creates drops that can be spread on the belay. Then rub the wax drops well into the belay with circular / massaging movements - from top to bottom (in sliding direction).
Pay attention to the correct temperature when applying the wax: your wax should not smoke. If it does, the wax will lose its gliding properties.
Tip: Do you have a brand-new pair of skis or snowboard and are waxing for the first time? Then repeat the waxing 2 to 3 times, so that the base is well covered in wax and the pores are richly filled (we call this waxing-in). The first waxing is best done with a universal wax without fluorine (fluorine dries out the base more quickly). The final waxing should be done with a hard wax (for cold temperatures), so the condition of your material lasts a bit longer.
Step 6: Finishing touch
First, you will need to let the wax dry. Once the wax has dried and sunk in, you can remove the excess wax using a scraper. Scrape away the excess wax by scraping top to bottom (sliding direction). After scraping the belay, go over it with the bronze brush to brush grooves in the wax for better gliding performance and to get your belay back in top condition!
Tip: Are you going to leave your equipment unused for a longer period of time? Then just leave the wax on! This protects the belay from moisture and dirt, so it can't do any harm.
Step 7: Testing!
Does the wax glide nicely and are your steel edges sharp again? You'll find out when you test it for a while. Go well prepared on winter sports and test your sharpened and waxed equipment at one of the SnowWorld venues near you.
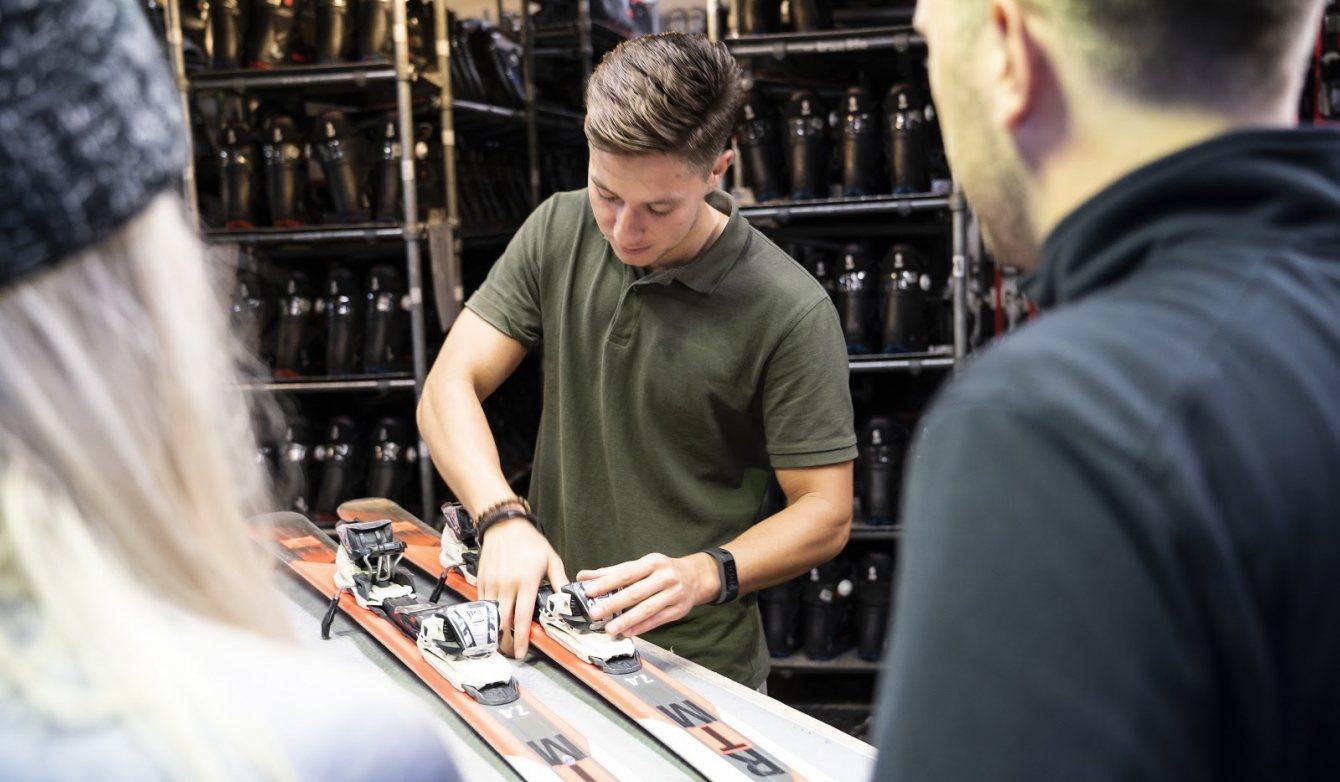
Maintenance by a professional?
Would you rather outsource? Then hand in your snowboard or ski equipment at one of our Duijvestein or Mount by Duijvestein shops! Your skis or snowboard will then be taken care of by real professionals and usually finished within a few days. Having your equipment waxed on time also has its advantages: the special machines wax and sharpen with great precision, leaving your equipment in top condition in no time!
Maintenance service at one of our shops?
Have a look at the treatmentsdasdas